
Friday, October 21, 2011
Rough-up of the revised geometry
Monday, October 17, 2011
changes as we go
Just logging a few changes we've decided on:
1) We'll rotate the carport 90 degrees, moving the storage room to be between where cars park and the house. Why? I was always partial to hiding cars from the house, but it's mostly a function of just seeing the geometry on site and having a bunch of little details add up (e.g., we no longer need to have it S facing, because solar panels will go on the main house-- carport area is too shaded; this position will reduce our need to cut some cedar brush, further maintaining the nice private sense you get in the main house area; some other geometric issues related to grades that weren't clear until we really walked off the exact corners in person).
2) Attempts to collect grey water and start out with composting toilets were hindered by county code. 'Nuff said, but we'll need to plan retrofits after final approval. Bottom line: even in rural Texas, they want to know you have a septic system that works, and they're not willing to budge on alternatives. So you have to set up the conventional system and then deal...

Saturday, October 15, 2011
slabslabslabslab
I guess this is the part where you realize it's really going to be a house.
Slab has been poured:

The slab shows that the house is divided lengthwise into thirds: one third is the master, one third is kid's rooms and bathroom and laundry, and middle third is open kitchen and living area. Plus middle third continues to include an outdoor living room (in the above pic, that's poking out towards the camera).
There's also a little outdoor kitchenette area, aka, couple of feet of slab for a grill, right off the kitchen (top right corner in this pic):

One of the more notable ICF-specific elements are the pieces of rebar poking out along the exterior walls. These are used to mount the ICF blocks. Walls are about a foot thick when all is said and done (I think 10" for the blocks themselves, plus an inch or two for exterior stucco and interior plaster):

And all spare concrete (along with unused 2x4 scraps) is used to make some large pavers for the walkway between house and carport:

A few more pics just to make it clear what things look like. For me, this is the first day when the actual size of the house and rooms is perceptually clear. Even with the slab molds in place, it was hard to envision.


Wednesday, October 12, 2011
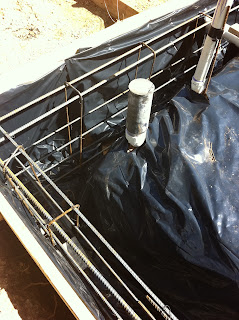
vapor barrier and rebar
title pretty much says it all... i guess even in a dry area with no significant radon concerns, a vapor barrier is good form. i presume the ICF and SIP construction could keep moisture in even more than a conventional home, hence it being a good idea to keep the slab from wicking whatever moisture is in the ground up into the house.


Monday, October 10, 2011
laying pipe
Looks like the plumbing that will be embedded in the slab has been laid into place. Tomorrow is probably rebar (huge pile of rebar at the build site, hint hint).
Looking at this I feel really good about some of the hidden aspects of the design. In general there's not a lot of plumbing. Furthermore, all the plumbing is along one exterior wall, and is as close to the water heater as possible. It's not flashy but it's a nice way to bump up efficiency and (for me this is the bigger deal) not have to worry about having an intricate set of pipes running all over the house, through walls, in ceilings, etc.


Looking at this I feel really good about some of the hidden aspects of the design. In general there's not a lot of plumbing. Furthermore, all the plumbing is along one exterior wall, and is as close to the water heater as possible. It's not flashy but it's a nice way to bump up efficiency and (for me this is the bigger deal) not have to worry about having an intricate set of pipes running all over the house, through walls, in ceilings, etc.


Friday, October 7, 2011
initial views
Just some foundation-frame pics that happen to make it clear what certain canonical views will be like.
Approaching from the carport, looking down the long axis of the house (this one's important because we still need to figure out exactly how the carport will be oriented):

Looking down the short axis of the house (oriented SSW, i.e., 200deg). This is effectively the view out the back of the main area and also off the covered outdoor living room. And yes, we'll need to figure out some ways to block views of the utility pole (which was already there) and also to build something around the old well and pressure tank.
Also, the view out the kitchen sink window. I am fine doing dishes looking at this big tree, which is the largest of the 100+ y/o oaks that surround the house site.

Finally, just a quick view of the slab extension that is for the outdoor extension of the kitchen. In other words, big gas grill goes here, right off the kitchen and also easily accessed from the rest of the main living space.

Approaching from the carport, looking down the long axis of the house (this one's important because we still need to figure out exactly how the carport will be oriented):

Looking down the short axis of the house (oriented SSW, i.e., 200deg). This is effectively the view out the back of the main area and also off the covered outdoor living room. And yes, we'll need to figure out some ways to block views of the utility pole (which was already there) and also to build something around the old well and pressure tank.

Also, the view out the kitchen sink window. I am fine doing dishes looking at this big tree, which is the largest of the 100+ y/o oaks that surround the house site.

Finally, just a quick view of the slab extension that is for the outdoor extension of the kitchen. In other words, big gas grill goes here, right off the kitchen and also easily accessed from the rest of the main living space.

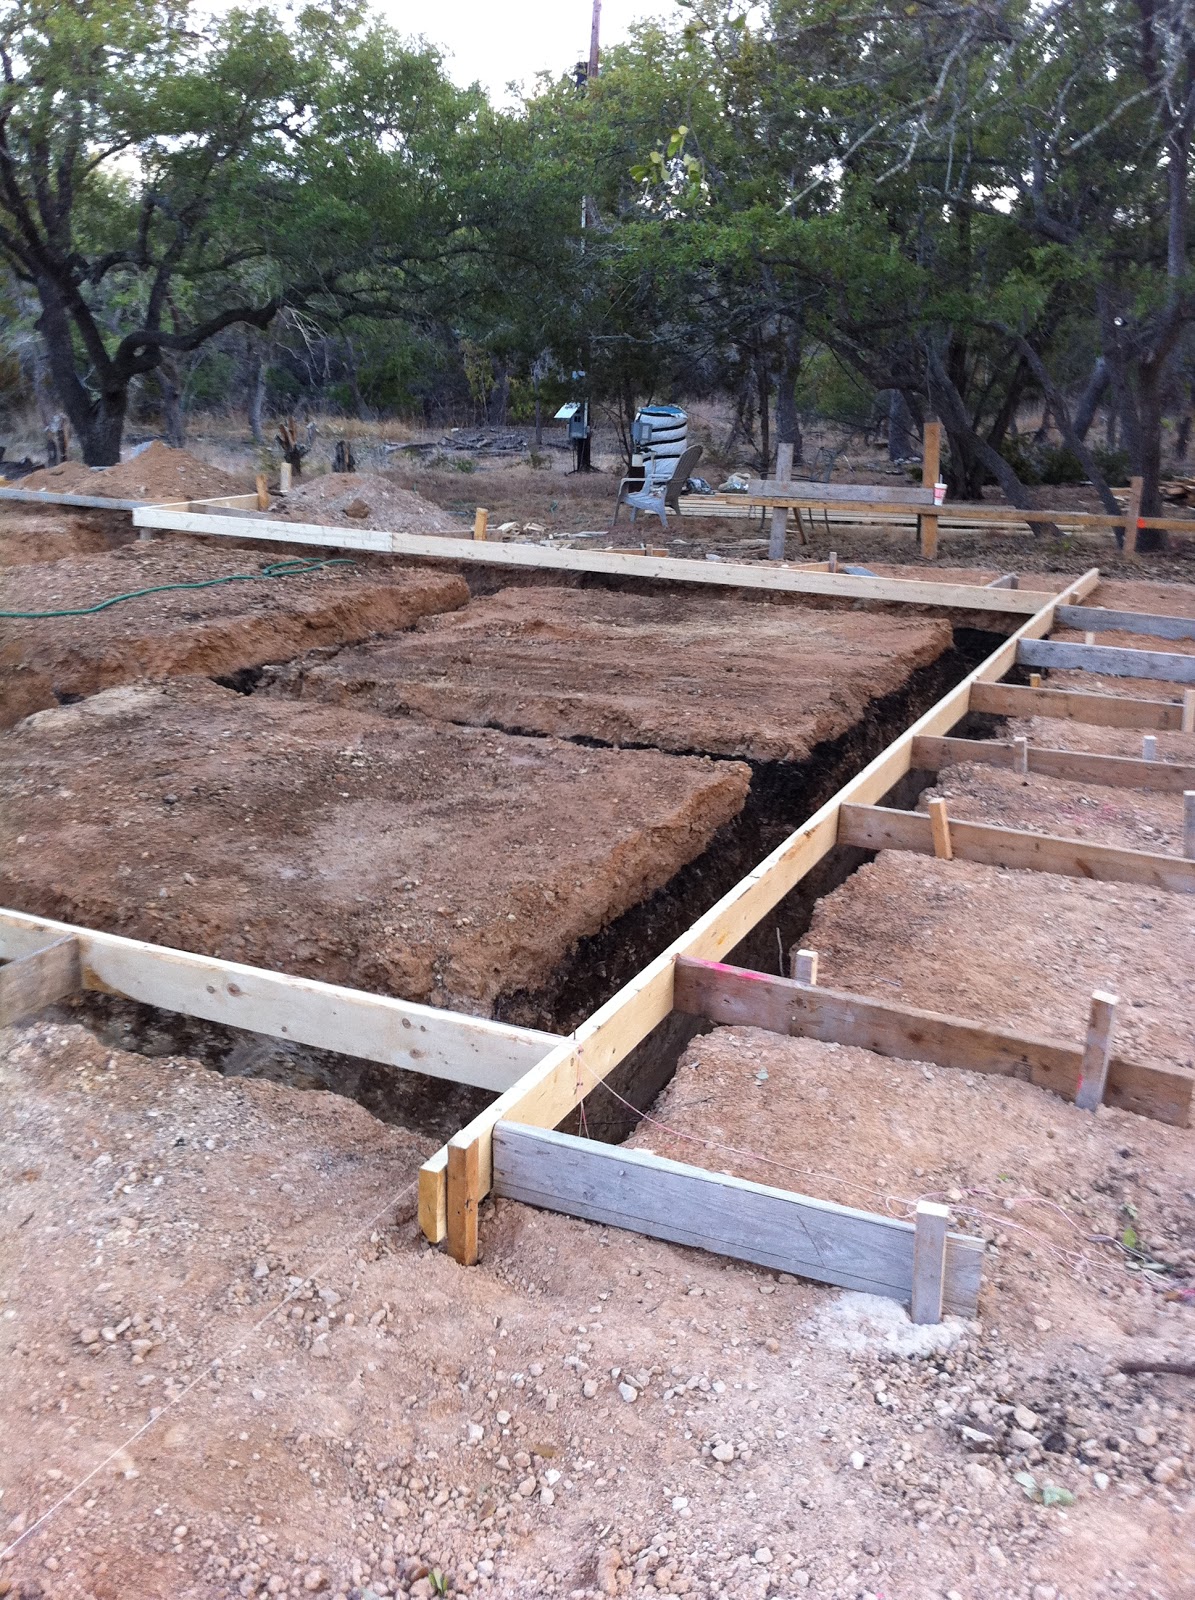
framing the foundation
The wood molds for the foundation were set it place. Makes it really clear where the house will be, despite having known for months what the siting plan was.


Well, that's not quite the case-- the site was rotated about 15deg not too long ago, once we realized that solar panels will need to go on the main house (as opposed to the carport, which was the initial plan). So it's taking my mind's eye a little time to re-adjust to the rotation, but nothing a little time won't re-align. (Solar panel note: the carport is just too shaded for effective panels. We should have figured this out earlier; although it's not a major complication, it was know-able in advance).
Still feeling like the house is the perfect size. Any bigger and I'd think it was eating up too much of the land. Any smaller and I'd have concerns about space and the open-floorplan middle third being too small.


Wednesday, October 5, 2011
what's not there
One of my fave things about the build site is what's not there. Most builds, first thing they deliver is a dumpster. So far, we just have nice piles of trimmed cedar, scrap wood for re-use, etc etc. I mean, it still looks like the apocalypse as far as I'm concerned, but at least we're not already filling up dumpsters of "waste".


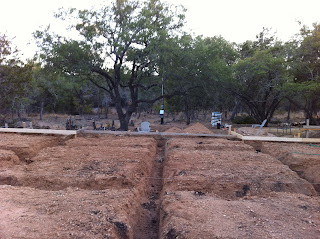
grading and foundation footing
Looks like they've already regraded and are midway through cutting out the foundation footing trenches (I assume that's what they're doing...).


Monday, October 3, 2011
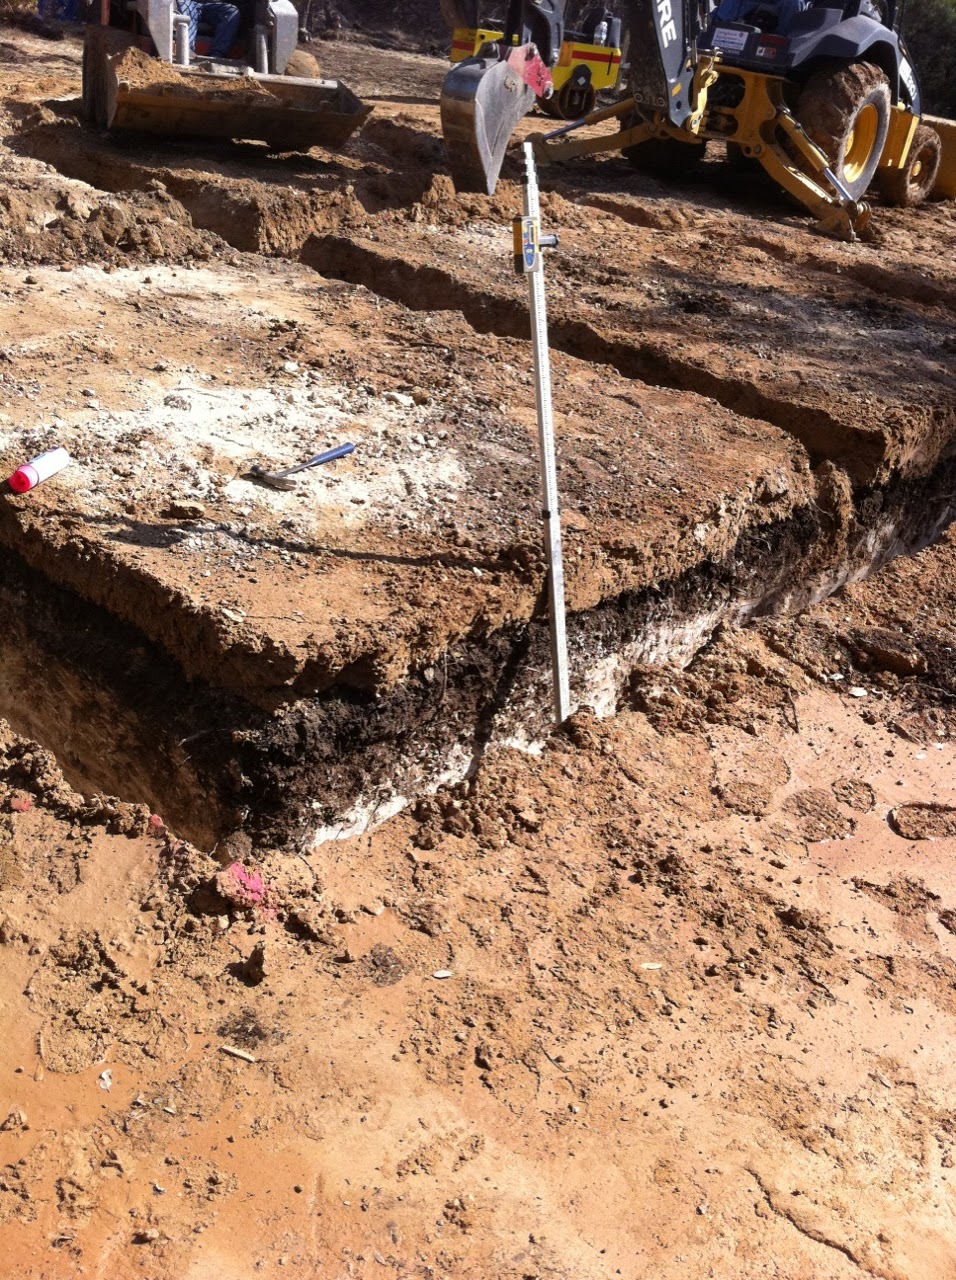
first day of prep!
Today it really started happening... wrapped up some minor clearing and marked out the exact slab location. This led to our first "surprise" of the build... thanks to a gradual grade that was more severe than the initial measurements suggested, the SW corner of the house would be sitting 4 feet off the ground! Now, one or 2 corners can easily be high when building on terrain that's not totally flat, but 4 feet is extreme. Solution: lower the whole slab by about a foot, do some regrading around the low (NE) corner (and use the extra dirt to regrade the other way at the high corner to lessen the slab height relative to ground). We made sure drainage won't be an issue (we have a pretty good sense of water flow on the ground during downpours-- last time we had a major storm I swung by the property and noted the flow... it's mostly far from the build site, and unsurprisingly goes with the, ahem, "wet weather creek" that the house looks down upon). Anyways, and away we go...
Here's a few sample pics of the build site. We did have to toast 1 oak and a couple scrub juniper, but hats off to the architect/builder, who did a great job tucking the design in among a bunch of really great oaks that absolutely can't be messed with....


Here's a few sample pics of the build site. We did have to toast 1 oak and a couple scrub juniper, but hats off to the architect/builder, who did a great job tucking the design in among a bunch of really great oaks that absolutely can't be messed with....


pix pix and more pix
I'll be dumping all photos from the build here:
https://www.dropbox.com/gallery/7674416/1/Build?h=3289f3
It's mostly for our records, but completists can check it out...

https://www.dropbox.com/gallery/7674416/1/Build?h=3289f3
It's mostly for our records, but completists can check it out...
Subscribe to:
Posts (Atom)