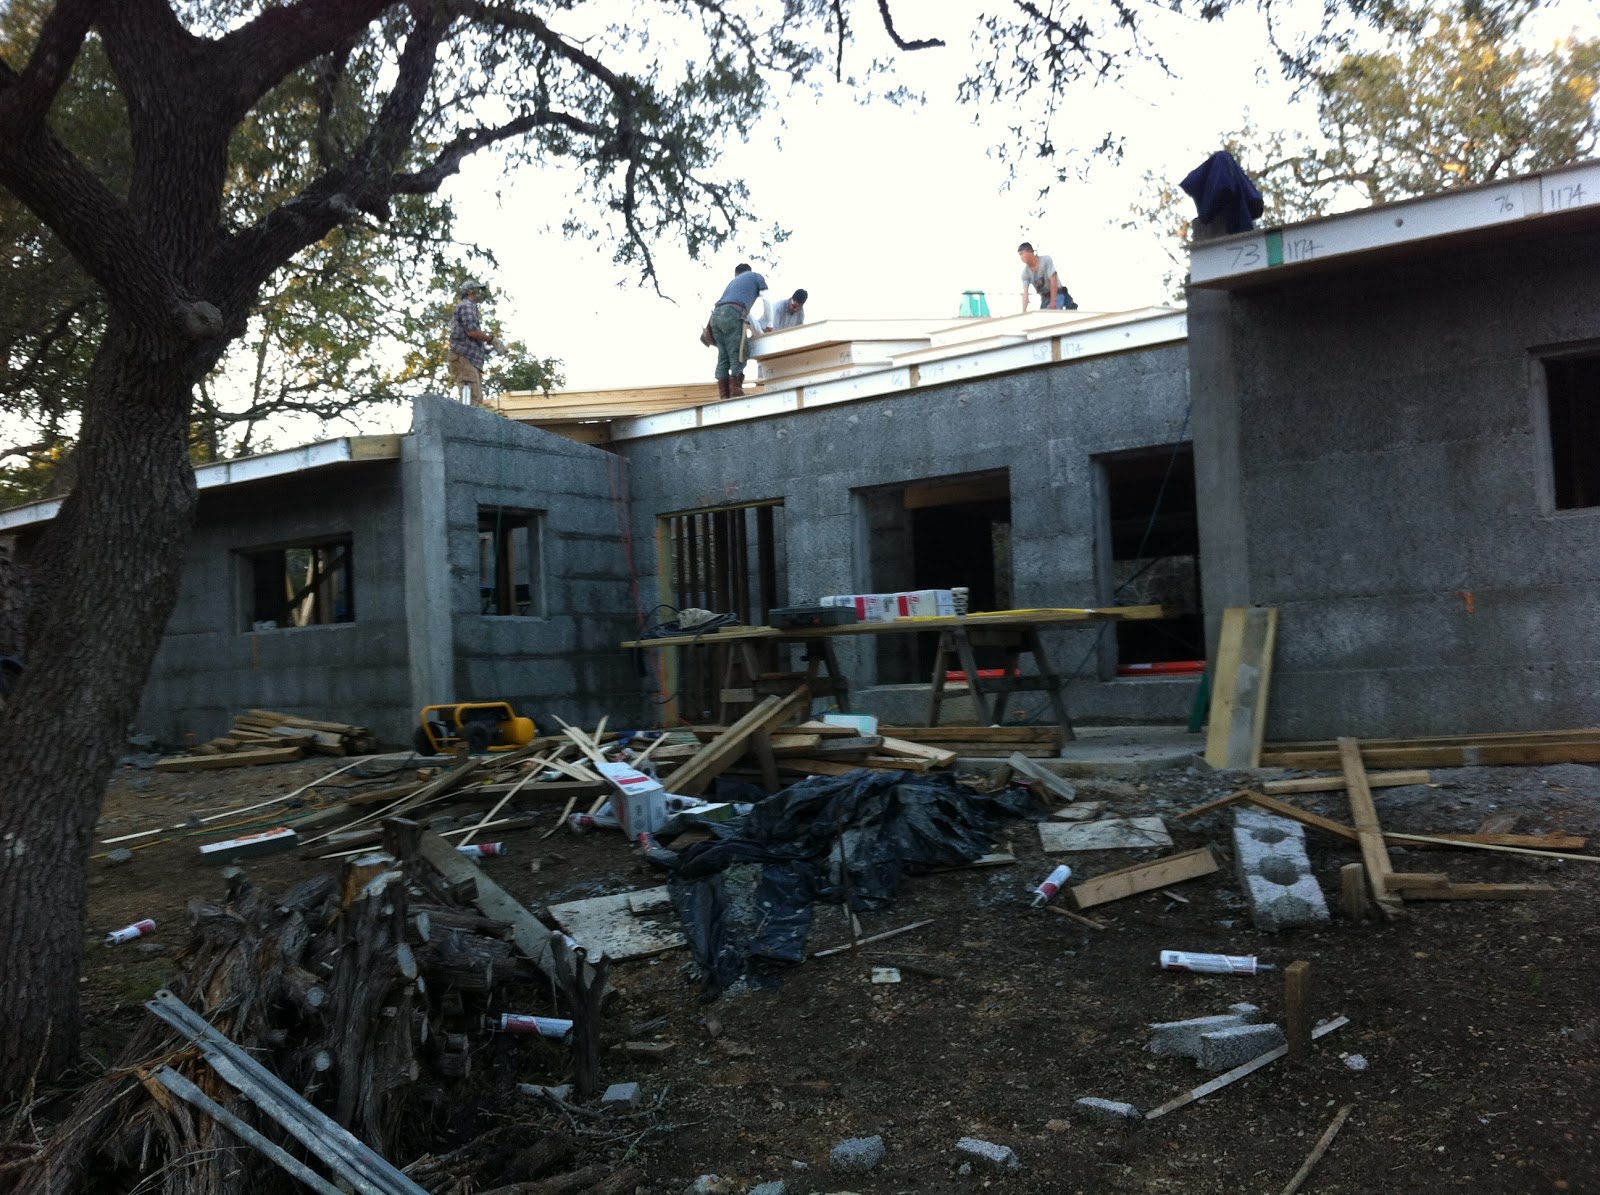
SIPs (structural insulated panel) installation. In short, these serve as the roof framing, insulation, and ceiling all in one component. They are basically thick panels of foam board sheathed on both sides by an exterior panel (I think ours are oriented strand board, OSB). They are made off-site and shipped (almost) ready for installation. They are cut to appropriate lengths (on order of 8-14 feet or so) and are 4 foot wide. Probably 8 inches thick (note to self, save a scrap for reference).
They basically look like huge ice cream sandwiches. Within a day and a half, the entire house SIPs installation was done: we are now "under roof" in the structural sense. Very cool.
The SIPs just butt up against one another, with some glue. Usually the interstitial zones (imagine putting 2 ice cream sandwiches side by side) are filled with pre-cut strips of the same foam board. For longer spans wood beams (2x8s?) are inserted instead, for structural support (one of the few spots where you see nails going through the SIPs). For simplicity of construction, the SIPs were spec'ed to include the overhangs of the house (except of course the butterfly roof over the outdoor covered patio). The outer bits of the SIPs (where you can see the white foam board in the pix below) will also be edged with beams.
Wish I'd been able to take more pictures, but my phone was busy playing music while the girls napped in the Subaru. Plus this whole process goes so fast it's easy to miss. Did get to watch the installation from the roof-- very cool.